Microneedling is one of the hottest trends in skincare right now—and for good reason. This technique, which involves gently rolling a device covered in tiny needles across your skin, can boost collagen production, enhance product absorption, and give your skin a firmer, glowing appearance. While it may sound intimidating, using an at-home micro skin roller can be simple and safe with the right know-how. Here’s how you can effectively (and safely!) use a micro skin roller in the comfort of your home.
What Exactly Is Microneedling?
Microneedling uses a derma roller covered in tiny needles to create micro-channels in your skin. These micro-injuries prompt the skin to go into repair mode, boosting collagen and elastin production. The result? Smoother, firmer, and more radiant skin over time. At-home microneedling is generally less intense than in-office treatments, with shorter needles that are safe for home use.
The Benefits: How Microneedling Helps Your Skin
-
Collagen and Elastin Production: Collagen keeps skin firm and smooth, while elastin allows it to “bounce back.” As we age, collagen and elastin naturally decline, leading to sagging and fine lines. Microneedling triggers your body’s healing response, boosting collagen and elastin to firm and plump your skin.
-
Improved Absorption: Studies show that after microneedling, skincare products can penetrate up to 200 times more effectively. This means your serums and moisturisers work harder, delivering deeper hydration and nourishment.
-
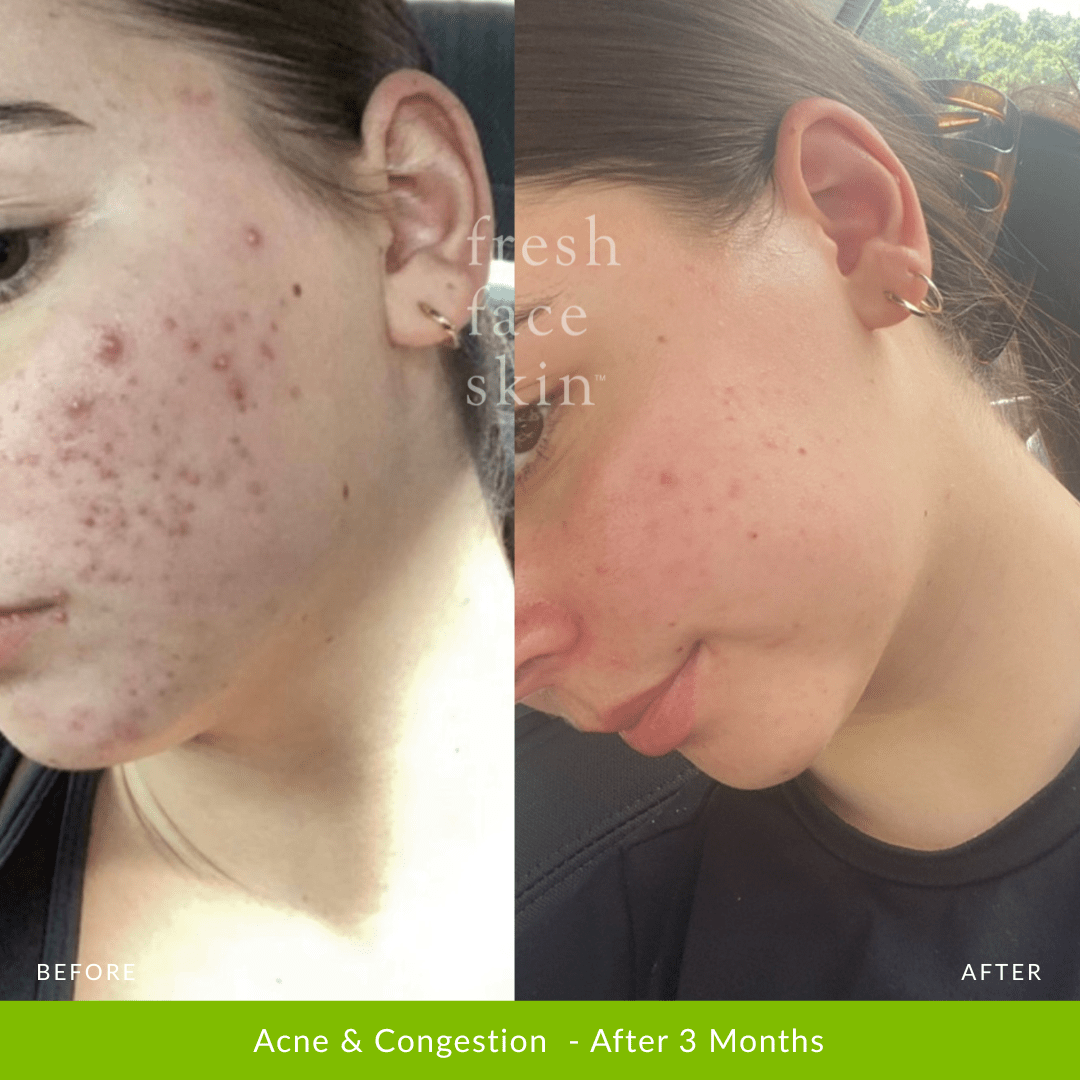
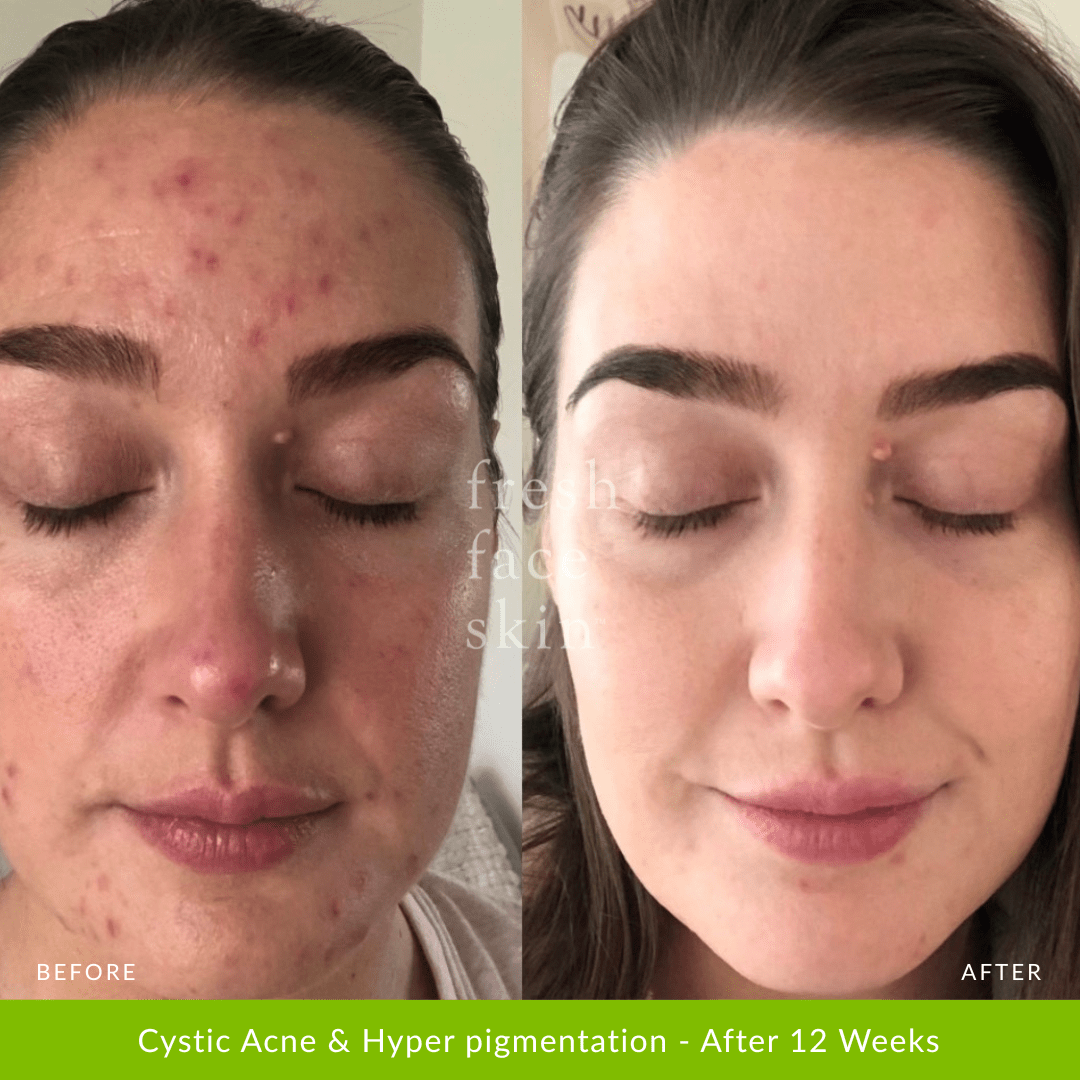
Reduced Pigmentation & Even Skin Tone: Microneedling is a powerful tool to help break down areas of hyperpigmentation and encourage cell turnover. Over time, it can lighten dark spots and even out your complexion, giving you brighter, more uniform skin.
- Improved Congestion & Texture: Microneedling doesn’t just improve the surface—it goes deeper. By increasing cell turnover and bringing oxygen to the skin’s underlying layers, microneedling helps clear stubborn bacteria that contribute to congestion and uneven texture. It encourages fresh, new cells to surface, refining your skin’s texture and promoting a clearer, smoother appearance.
Step-by-Step Guide to Microneedling at Home
Ready to give microneedling a try? Follow these steps to get the best results while keeping your skin safe and happy:
-
Start with Clean Skin and Tools
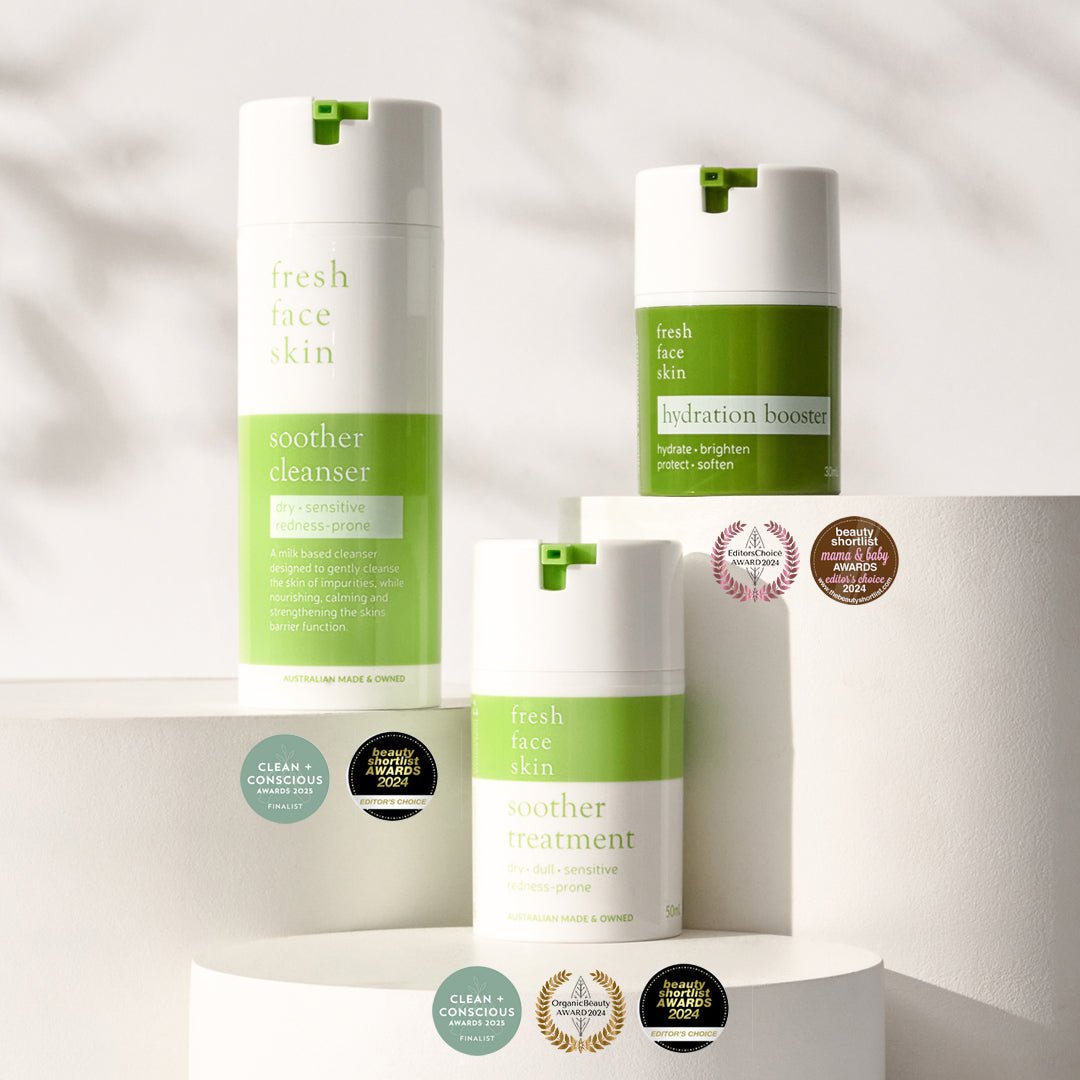
Thoroughly cleanse your face with a gentle cleanser such as our Soother cleanser to remove excess product, makeup, dirt, and oil. It’s equally important to sanitise your micro skin roller after each use—soak it in isopropyl alcohol or in boiling hot water for at least 5-10 minutes and allow it to air dry before use.
-
Apply a Hydrating Serum (Optional)
Before rolling, you can apply a hydrating serum - such as our Hydration Booster. This can enhance comfort during the treatment and improve product absorption & effectiveness as you roll.
-
Roll It Out!
Gently roll the micro skin roller across your skin using light pressure. Divide your face into sections—forehead, cheeks, chin, nose and neck. Roll back and forth in horizontal, vertical, and diagonal directions (aim for 3x rolls per section). A gentle approach is all you need for results. The end point goal is even redness, never blood.
-
Post-Roll Care
After rolling, apply a soothing product such as our Soother treatment, will help to calm and moisturise your skin post roll. Your skin will be extra receptive due to the micro channels formed within your skins surface layers, so use products that nourish and repair for extra skin support. Expect some redness, which should subside within a few hours.
-
Clean Your Roller Thoroughly
After use, disinfect your roller again by soaking it in isopropyl alcohol or boiling hot water for about 5-10 minutes. Let it air dry before storing it in its case.
How Often Should You Microneedle?
Start by using your roller once a week, gradually increasing to 2-3 times as your skin adjusts. If you have sensitive skin, stick to once a week to avoid irritation.
A Few Tips for a Better Experience
-
Avoid Rolling Over Active Breakouts: Microneedling over acne can spread bacteria.
-
Use Sunscreen Religiously: Microneedling makes skin sensitive to UV light, so SPF is essential.
-
Be Gentle: Light, even pressure is all it takes—no need to press hard.
-
Roll at night: Will enhance the skins natural rejuvenation as you sleep and to allow the skin to calm overnight.
- Be aware of active ingredients: Avoid rolling on nights where you have applied retinol or used an exfoliator or acids, to avoid skin irritation and sensitivity.

The Bottom Line
An at-home micro skin roller is a fantastic tool for supporting radiant, even-toned skin. Not only does it boost collagen and elastin for firmness and elasticity, but it also enhances product absorption, reduces pigmentation, improves congestion, and refines skin texture. By stimulating cell turnover and bringing oxygen to deeper skin layers, microneedling clears stubborn bacteria and smooths out uneven areas.
By following these simple steps, you can safely incorporate microneedling into your skincare routine, enhancing your skin’s natural glow—all from the comfort of your home.